How to Plan the South Coast Wilderness Trial

along the picturesque coast of the Pacific Ocean lies the South Coast Wilderness Trail, one of Washington’s best hidden backpacking gems. Learn how to seamlessly plan your backpacking trip with this handy guide.
First and foremost, it must be said that this is not a trail that you can up and decide to do one morning. Nay, it requires very careful planning, a good amount of foresight and serious consideration of weather conditions. If you’re not quite ready to dig into the finer details, I suggest reading about my journey along the coast last May, and you can vicariously travel there. Who knows, perhaps afterwards you may find yourself back to this page to plan the trip yourself.
If you are patient enough to plan out this coastal adventure, I have no doubt that it will become one of your top Pacific Northwest backpacking experiences - it’s definitely one of my favorites and I hope to do annually. Plus, if you’re like me and think that tide and topography charts look like ancient Chinese hieroglyphs, then this hike provides the chance to learn a new skill and successfully unlock the mystery of how to read them.
Table of Contents
Hike Snapshot
Step 1: Choose Your Route
Step 2: Permits & Campsites
Step 3: Deciphering Tide Charts
Step 4: Make a Plan
Step 5: Plan Transportation
Step 6: Pick-Up Permit
Packing List
Cost Summary
Helpful Links
DISTANCE
17.5 miles
ELEVATION GAIN
1,920 cumulative feet
Difficulty
Moderate
Area
Olympic Peninsula
BEST TIME
May - September


north to south
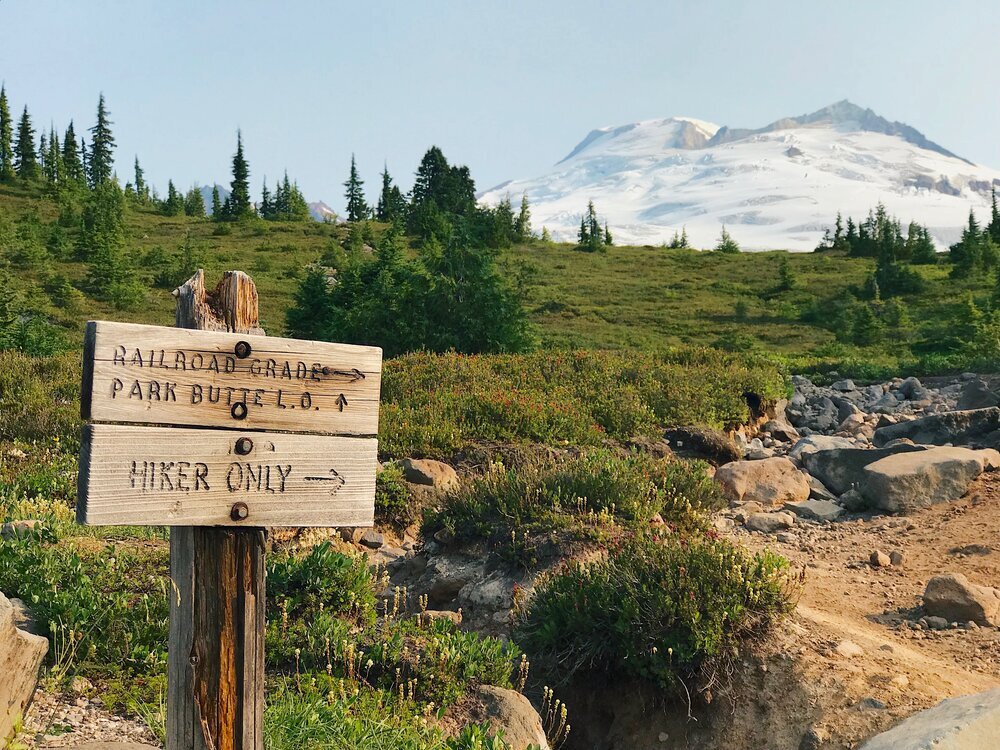
Third Beach > Oil City
This route is beach-heavy at the start and more forest-y at the end. I liked this route as a sort of “build up” to the boulders at Jefferson Cove, the toughest point to round at the southern end.
It was also nice to have the car waiting for us at Oil City, which is an arguably safer place to park than at Third Beach.
south to north
Oil City > Third Beach
If you want to get a tough boulder field out of the way right off the bat, then this is a good place to start. You’ll also have the river crossings in the first half of the trip allowing you to relax in a state of bliss on the beach toward the end of the journey.
Only qualms would be leaving a car at Third Beach, which is known for break-ins.
To reserve a permit, visit Recreation.gov. Once there, navigate to the “Check Availability” page and select your permit type (“overnight”), desired dates, group size and starting area (“South Coast”).
During the permit process, you must also decide where you are camping, which will look like the picture below. Don’t fret here! You aren’t completely married to your selection; once there, you can essentially camp anywhere you’d like. If, however, you would like to avoid being swept out to sea in the middle of the night or desire a place that is tried-and-true (i.e. a fire pit has already been dug - swoon), then you’ll want to choose where to stay ahead of time and try to stick to it. Below are my recommendations.

For your first night, Strawberry Point and Toleak Point are good options that make bring the first day to about 6-7 miles of hiking. We originally planned to set up camp at Strawberry Point but once we got there we had more gas in the tank and continued on to Toleak Point. We like the accessiblity of water from a nearby stream, that you fall asleep to the sound of the waves and that there is plenty of driftwood for a fire. The unobstructed view and front row seats to the sunset doesn’t hurt either.
For the second day, I recommend Mosquito Creek. While you could continue to Jefferson Cove, there isn’t much in the way of camping options and it can be a tricky area with tides. I also found that a day with only five miles allowed us to really enjoy the scenery and explore. At Mosquito Creek there is beach camping and also forest camping atop the cliff. Personally, I liked our cozy spot overlooking the busier beach below.
To best plan your campsites, check out the map below, which includes mileage between each.

This may be the most important - and undoubtedly most confusing - part of the whole enchilada, but don’t let it deter you! What makes this hike challenging is that the tides must be low enough on the day you will be there, but they must be low enough to pass when you plan to pass them. This means you need to have a good idea of your hiking speed across various terrain.
To give you an idea of the wormhole we continuously found ourselves in, please refer to the following math problem:
“Mile 9 requires a tide of 4 feet to cross. The window to cross during low tide on May 22nd is 1-3pm, and again at 11pm. If Caitlin and Sam hike at a pace of 20 minutes per mile, what time do they need to leave camp at Mile 5 to make the tide crossing?”
And so this process went. For 20 miles. For 4 tide crossings. But again, don’t let it scare you! Instead, take a few cleansing breaths, grab a coffee and settle in. We are going to decode tide charts right now, together.

How to read tide charts
Essentially, the higher the number the closer to shore the water is. The lower the number, the farther out the water will be. Let’s look at the chart below as an example; high tide would be considered 8.22 (around 3 a.m.), whereas 0.78 is low tide (around 9 a.m.).
For the SCWT, most hiking needs to be in the 2.0 - 4.0 range to safely cross without the water blocking the way. I found it helpful to screenshot the tide charts for my trip dates and highlight the windows that we could cross (as shown by the vertical green areas below). This gave an idea for how much time we had to get to each necessary point.
TIP: To get an idea of where high tide reaches (i.e. 8.0 feet), look for a darker line of algae, rocks and sticks in the sand. This indicates where the water is typically highest and can be used as a baseline for the range of tides.
To give you an idea of it in action, let’s say I need to cross from Scott’s Bluff to Strawberry Point on March 29. To safely cross, we need a low tide at a height of 4.0 feet or less. The green area highlights the approximate time window for a safe crossing: 7am-2pm and again from 8pm to midnight. Since we won’t be hiking at night, we would want to plan hike in the morning/afternoon window. I know that the distance between Scott’s Bluff and Strawberry Point is 1.3 miles, which we can cover in 30 minutes if we’re down to business. This means that we would want to arrive at Scott’s Bluff to cross no later than 1:30pm (though I recommend factoring in buffer time).
That’s a pretty easy time to work with, but it can get trickier as you are begin to line up multiple crossings. You have to make sure it is all timed right as some windows are only a few hours each day.

If it still looks like ancient hieroglyphs, perhaps the modified chart below will help; it’s how I imagine the beach (tan) and tides (blue). The black square is the window that I’d have my tent (white triangle) is set up on the beach. Since the chart shows a water line creeping higher in the wee hours of the morning, I’d want to pitch my tent pretty far back to the tree line, just in case.
The green square is the time I would be hiking in the morning/afternoon. From the tide chart, I can see that if there is an area on the trail that requires a low tide (which you can find a list of below), I’ll want to get moving pretty early, when the tide is in the safe 2.0-4.0 range (8 a.m. to 1 p.m.-ish), since a crossing may prove be harder in the 4 p.m. range when the tide is around 6.0.
While it is good to know the tides for yourself and planning ahead, the best source of guidance will be a park ranger. Snag tide charts and ask questions at the ranger station when picking up your permits to make sure you are safe on the trail.

SCWT low tide sections
Taylor Point - Scott’s Bluff (<4.5 feet to cross)
Scott’s Bluff - Strawberry Point (<4.0 feet to cross)
Toleak Peak - Mosquito Creek
Mosquito Creek - Jefferson Cove (<2.0 feet to cross)
Jefferson Cove - Oil City
To view tides for this trail, you can look at the La Push tide tables by clicking here. Adjust the dates you plan on hiking to get accurate tide information.
Next, you need to determine your speed. This, in combination with tides, will determine where you can reasonably expect to camp and when you need to get moving each day. I won’t lie to you, this process can be annoyingly tedious. After deciding your speed and the distance you’d like to cover, and bearing in mind the tide charts, your originally selected campsites may change. It’s a lot of back-and-forth: "if I go here, I can do this,” or “I need to sleep here if I can only make it this far.”
While this may be a fun-sucking part of the hike (or the fun part if you are an organized data-geek Type A like myself), I promise that it will all be worth it when you are safely camped, beer in hand, watching the sunset over the ocean.
Your speed & distance
The average person’s walking speed is around 20 minutes per mile. When hiking, it is typically 25-35 minutes depending on the weight your lugging, the terrain and elevation gain. For this trail, I wanted to be on the conservative side of estimates and planned to do about 35-40 minute miles. This gave us time to traverse cliffs, climb bluffs and appropriately ooh-and-ahh at the scenery. Plus, I’d rather wait for a tide than miss it!
North to south example
I ended up with something that looked like this:

Now I know what you’re thinking. You’re thinking, “you planned down to the hour!? How is this hike fun? How are you even fun as a person!?” - which is completely fair. I also just admitted that I’m an organized data-geek Type A kinda gal, so there’s that. Planning is just my jam. Sue me. Also, I encourage you to take what YOU want from this information. Perhaps you just want to know which areas require a low tide. Great! Or maybe you want all the minutiae on a silver platter. Viola!
So you have your campsites planned and you know when you need to start the hike based on the tide charts - woohoo! Now you need to make sure you get there on time!
Getting to the trailhead
Drive | From Seattle, take I-5 and Highway 101 to the coast. This is about a 3.5 hour drive without traffic.
Ferry | This isn’t necessarily faster but it’s a quintessential Seattle activity. Take the ferry from Edmonds Terminal, 20 minutes north of Seattle and disembark at Kingston Terminal after a 30-minute crossing. I like this option because you can doze off for a bit on the ferry if you are leaving in the early morning (highly likely). When booking tickets, make sure to factor in driving time to reach each destination.
To book your ferry tickets, visit Washington State Department of Transportation.
Shuttle
Since this is a thru-hike, you will need to do something with your car. You can, A) park your car at one trailhead and take the shuttle to the other allowing you to hike back toward your car, or B) start your hike from where you parked your car and take the shuttle back to your car once you complete the trail, or C) take two cars and park one at each trailhead, shuttling yourselves between the two.
We prefer (and recommend) Option A, to shuttle at the start and hike back to the car. The benefit of booking at the beginning is that you aren’t rushed on your last day of hiking but also because it is easier to coordinate the logistics (i.e. any delays) when off the trail at the start, rather than in the middle of no man’s land on the trail. Also, since we decided to do north-south, the parking lot is considerably safer at the southern parking lot in Oil City. Third Beach, at the north terminus, is far more popular and often experiences break-ins.
Olympic Hiking Co. offers shuttles once a day for both directions (reservations required, $60 per person). Third Beach is the northern trailhead, while Oil City is the southern entrance.
Third Beach to Oil City: Depart at 8:30am, arrive at 9:45am.
Oil City to Third Beach: Depart at 10am, arrive at 11:15.


This trail requires a Wilderness Permit, which you will obtain when booking campsites. Because the rangers want to make sure that everyone is safe and has the proper equipment, you must pick up your permit up in person at the Wilderness Information Center (WIC) in Port Angeles. They are open daily from 8am-5pm during summer. While there, you can also rent a bear canister if you do not already have one.
For our trip, we found ourselves in a bit of pickle as we would be passing through Port Angeles earlier than 8am in order to make it to Oil City for our shuttle. I emailed the rangers ahead of time and they were incredibly helpful. Since I already had a bear canister, they allowed me to do a phone “interview” under special circumstances and asked about my camping experience and the bear canister I’d be bringing. Once approved, they emailed the permits over, which was essential. Go park rangers! That said, I would have loved to stop by the WIC in person and chat with them as their knowledge is always invaluable before setting out on a trail.
First and foremost, you need a bear canister for your food. These can be rented if you don’t have one, or if you’d like to invest, I recommend the classic Bear Vault BV 500 Food Container. The next essential is a copy of the tide chart - not a phone picture since batteries die, but a hardcopy. You may also want a topography map of the South Coast. A water purify is needed since carrying 3-days worth of water on your back is insanity - though if you can do it, color me impressed. Since weather changes fast and it is the coast after all, I highly recommend a rain jacket as well. Bonus points if its windproof as the coast is a breezy place.
If you have space, I also suggest gloves for the rope climbing portions of the trail. In hindsight, I wish I brought fire starters because the moisture in the air can make a fire a real challenge (insider tip: use vaseline soaked cotton balls). One thing I brought that I wish I hadn’t are hiking poles. Outside of this, it’s pretty typical backpacking fare. Below is a list of gear with links to my recommendations if you need anything for the trail.
essentials:
Tide chart and map
Nalgene or water bottle
Tent (with rain cover)
Sleeping bag
Sleeping pad
Camp stove (plus gasoline and lighter)
Food (freeze-dried) and snacks
Bags for garbage
Hiking clothes (wool socks, long johns, etc.)
Toiletries
nice to have:
Waterproof sleeve (to keep chart/maps from getting wet)
Sandals
Book/journal
Fire starters
Toilet paper
Hat
luxuries:
Beer (though this is debatably an “essential”)
Camera
Read More: Must-Have Hiking Gear
Below are the standard costs for this hike (updated March 2020). Additional expenses will include food and gas during your trip.
Ferry ticket | $31.50 per standard vehicle + driver
Additional ferry passenger | $8.65 per adult
Hiking permit | $38 per night
Camping | $8 per person, per night (+ $6 reservation fee)
Shuttle | $60 per person
logisitics
Olympic NP camping permits
Washington State travel alerts
Bear canister information
hike specific
All Trails guide
Washington Trails Association guide
Helpful Trip Report
La Push tide charts
Pssst: This post contains affiliate links, which means I may earn a small commission (at no cost to you, I promise!) if you purchase through a link on my site.
pin for later:

You may also like: