Hiking 101: Hiking Gear For Beginners
Fully updated July 2025

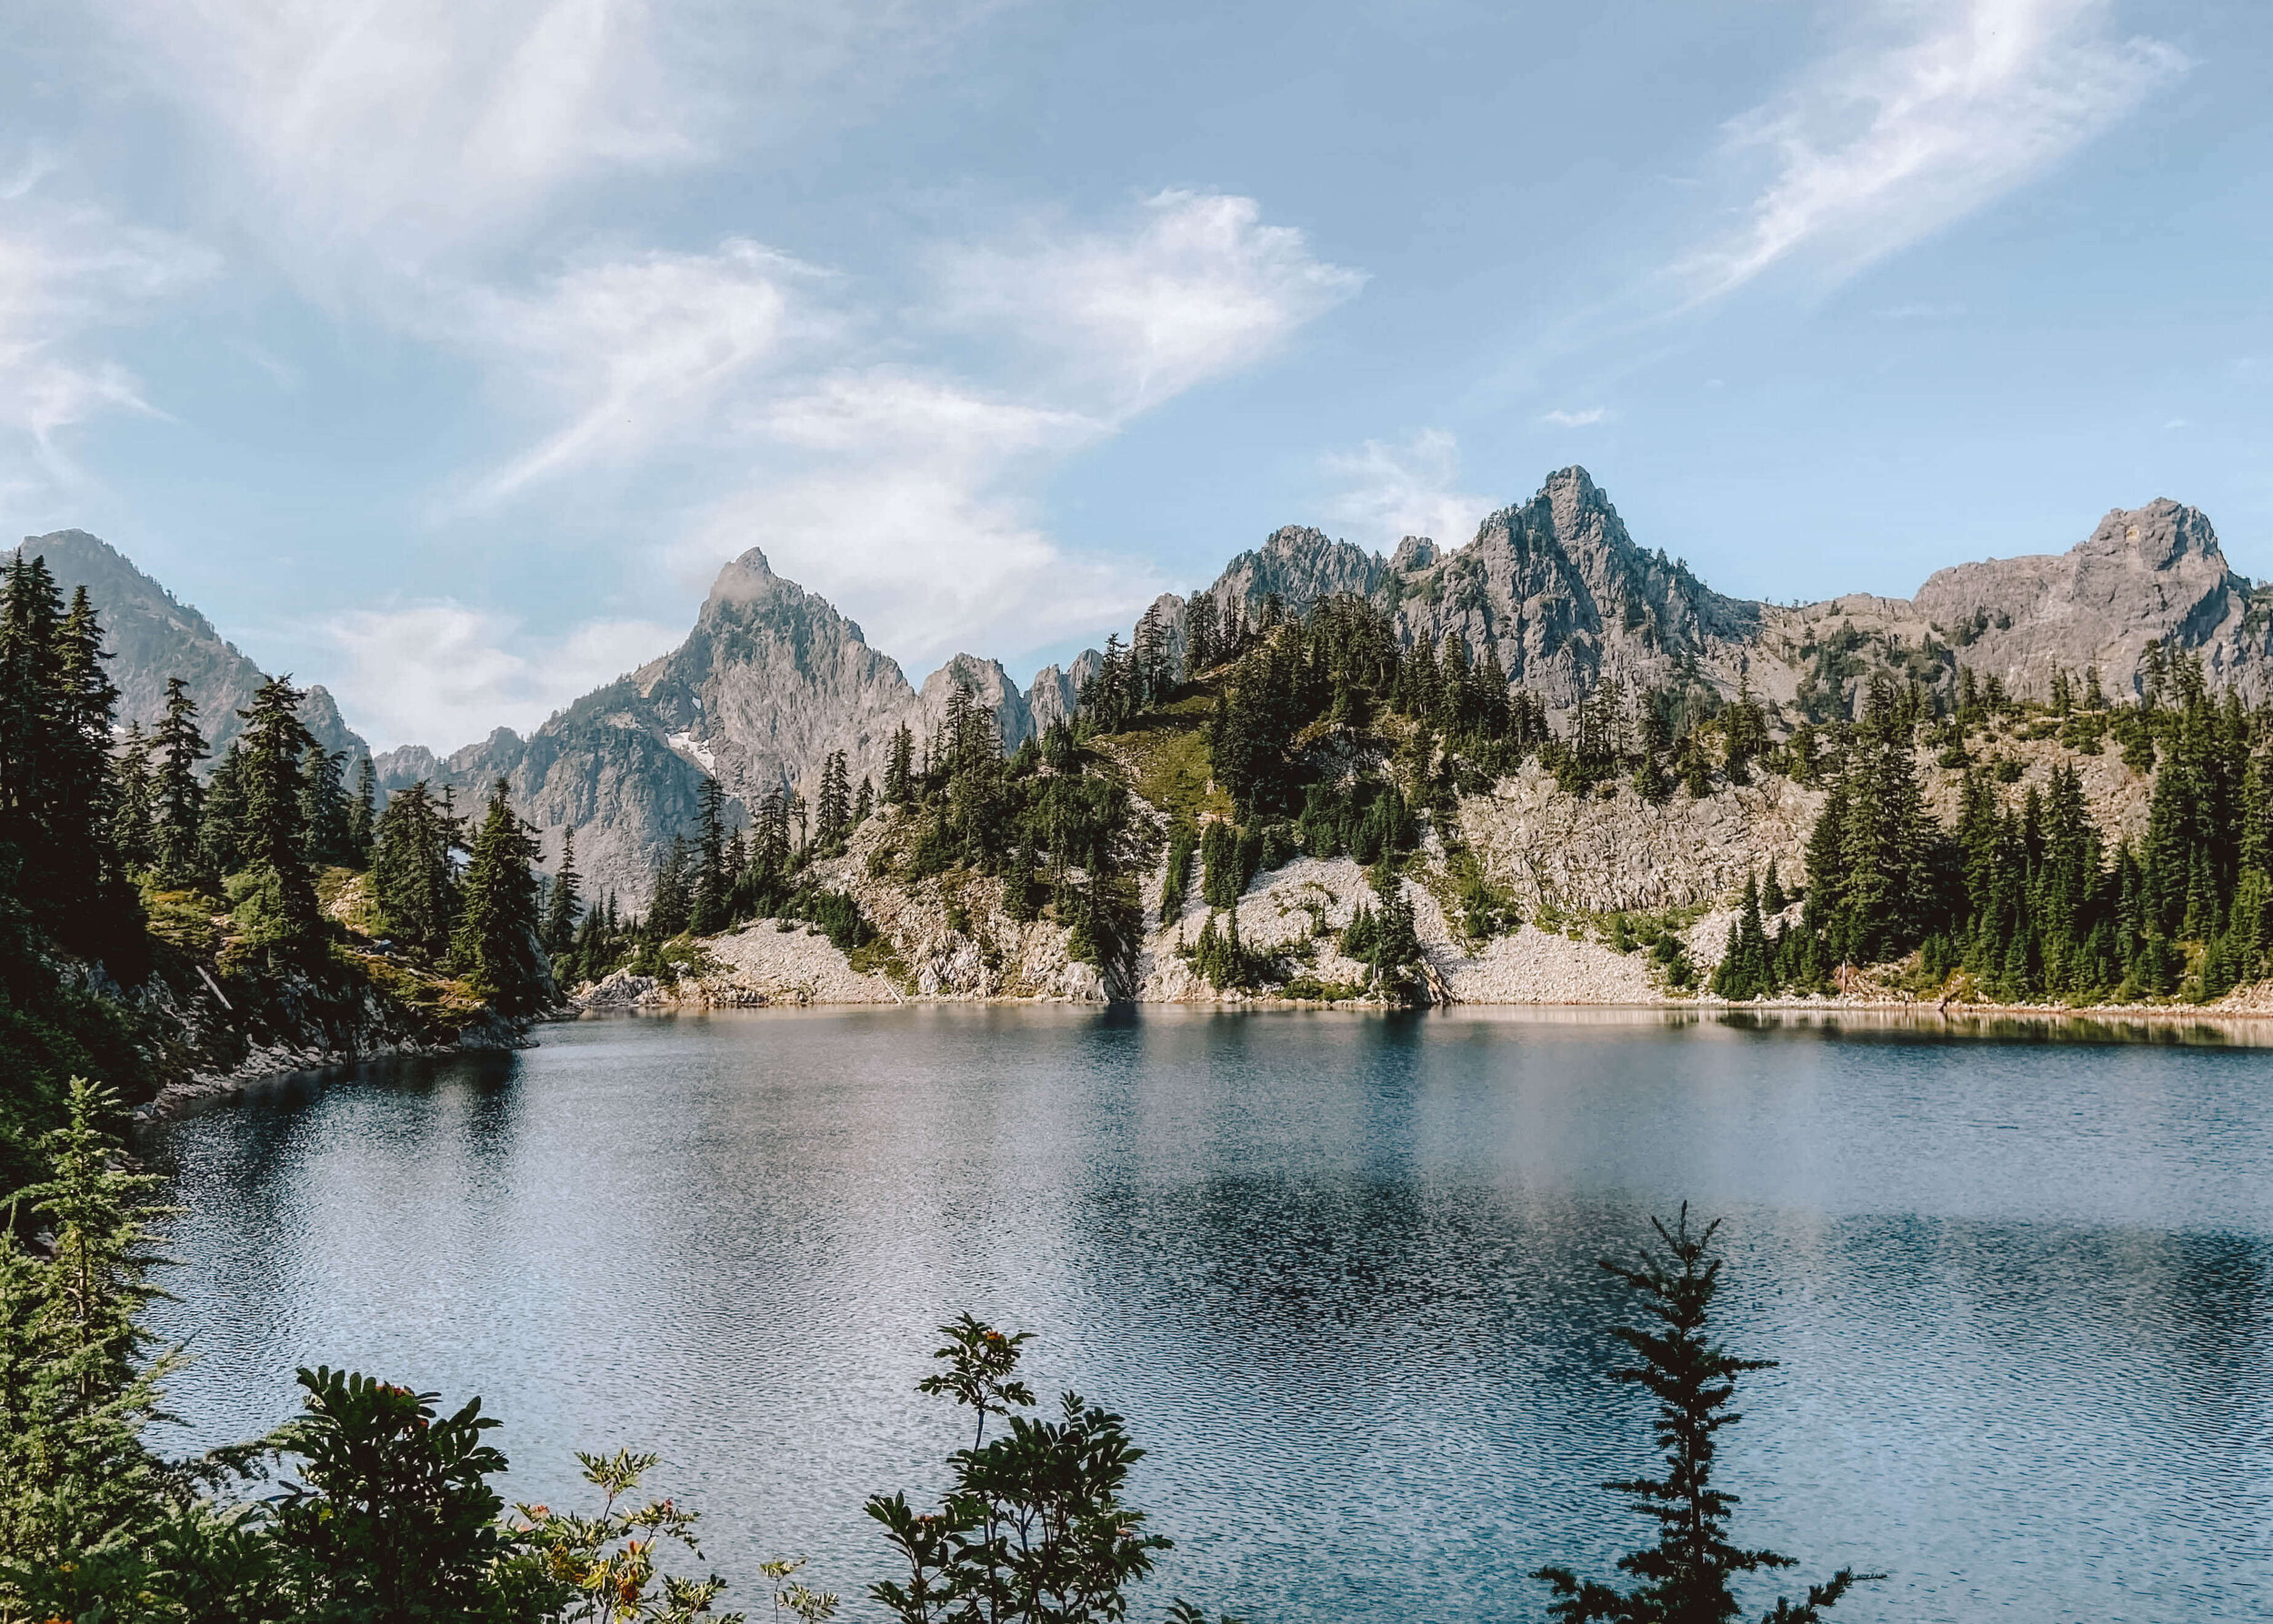
Wearing an Osprey daypack in New Zealand (photo by Disa Wold, @disa)
This comprehensive list details what gear you need to get started hiking.
THIS IS PART 3 IN MY HIKING 101 SERIES THAT COVERS HIKING AND BACKPACKING for beginners.
Someone once said that there is no such thing as bad weather, just bad gear. While I don’t completely agree with this sentiment, it’s also not entirely wrong. The right gear—no matter the hobby—is essential to make the experience more enjoyable and safe.
After 15 years of hiking, I’ve done my fair share of trading and upgrading to find gear that works. For me, I choose gear that is functional, lightweight and affordable. In addition to listing the gear you should start investing in, I’ve also included recommended brands and items to make shopping easier.
Some items are ideal to buy brand new, in which case I typically recommend visiting your local REI or outdoor recreation store. If you’re just starting out and not totally committed, consider buying second hand gear, borrowing, or renting to see what works best for you before buying new.
Table of Contents
1. Backpacks
2. Hiking Boots
3. Hiking Poles
4. Headlamp
5. First-Aid Kit
6. Safety & Navigation
7. Water & Snacks
8. Bonus Gear
The hiking backpack, also known as the daypack, is key to the whole operation. It holds all the goodies you’ll be taking along on your adventure; snacks, layers, headlamp, water and more. There are several factors that go into deciding which backpack is best for you, with the biggest factors below.
How much space do you need?
Backpacks are measured in liters, and daypacks are typically in the 18-28 liter range. You’ll see a number beside a product name, which indicates its liter capacity.
If you need more space (i.e. for camera, coat, etc.), opt for the 22-28 liter range. If you’re trying to hike light, try 18-22 liters, or even 16 liters.
Do you use a water reservoir?
Many backpacks have a sleeve to hold a water reservoir (aka: hydration miracle workers). Reservoirs come in 1-3 liters and allow you to access water through a tube in your bag so you can sip on-the-go.
Some backpacks include a water reservoir, so if you’re in the market for both a bag and a reservoir, I suggest going that route.
Do you use hiking poles?
If you currently use hiking poles, or eventually plan to, I recommend purchasing a bag that has pole loops right off the bat. These allow you to attach your poles to the bag when you aren’t using them (pointy sides down).
Do you want Hip belts?
Hip belts disperse the weight from your shoulders and upper back down to your hips, which can make the bag more comfortable to carry. They also have small pockets to hold easy-access items like chapstick and phones.
Recommended daypacks

Flash 22 daypack
REI CO-Op: $60
Lightweight, simple and budget-friendly. Even with a full water reservoir, snacks, jacket, notebook, and hefty camera, there is still room in the bag! On the exterior, there is a loop for hiking poles, and small hip and chest belts. Feels great, looks great.

Temptest 22 Pack
Osprey: $160
This bag is pricier but, just like the greatest friends out there, it is high-quality and supportive. It has tons of pockets and organization, hiking loop holes, and a solid hip belt. If you are searching for a comfortable bag that is built to last, this is a great option.

Batac 24L Del Dia
Cotopaxi: $85
Cotopaxi sure knows how to put the “fun” in functional. Plus, you have the great honor of playing color roulette making your bag unique. It’s less supportive (no hip belt) but it’s a decent price for what you’re getting.
I know I said that the backpack is the key to the hiking operation but that designation may be better given to hiking boots. Sure, running shoes like Nikes may do for short hikes, but if you are planning to really jump into the hiking scene, a sturdy pair of hiking boots is non-negotiable. There are many factors that set boots a part from each other, so consider the tips below when getting your first pair.

Ankle Support
Low-ankle boots are light and good for casual hikes while high-ankle boots provide support on challenging and uneven terrain. There’s also the sweet spot of the mid-ankle boot. Some people also swear by trail runners but those offer less ankle support.
Comfort
You want your boots to be snug but not overly so. When untied, you should be able to fit a finger behind your heel. In between sizes? Go up. Your toes want to breathe and hiking can cause the feet to swell.
Pack Weight
If you want to be fast and nimble and won’t be lugging a heavy pack, a light and flexible hiking shoe may be best. If you plan on long-distance hikes, consider a sturdier sole with more support. That said, many thru-hikers wear lighter shoes - it’s all about what is comfy to you.
Water resistance
For dry feet in the elements, leather is the way to go (or Gore-Tex). Leather also withstands a beating and last over time. Synthetic material, like nylon, is lighter but less water resistant. You can always treat your boots with a water repellant spray.
TIP: When trying on boots, wear thick socks like you would on the trail. This ensures you find the right fit.
Recommended Hiking Boots

mountain 600 hiking boots
Danner: $230
For an all-around hiking boot, it’s hard to beat leather Danners for both men and women. They are sturdy, supportive, comfy, waterproof, and I swear on my life, impossible to get dirty. These are great for day hikes and backpacking trips alike.

Lone Peak Trail Runner
Altra: $140
Lone Peak trail runners are light, breathable and easy to move in. They are not as supportive as an ankle-length hiking boot but do offer great traction. For an easy day hike, they are a good option. They are also great for those with wide feet (ahem, me). Available for both men and women.

Speedcross 6 Gore-Tex
Salomon: $165
As far as all-around shoes go, Salomon nailed it with these. They are like the happy middle option for hiking and walking. In fact, they are my default shoes for long-distance treks. They have fantastic traction, an easy boa tie system, and are so comfy.
On uneven terrain, in snow, or up demanding elevation, hiking poles make all the difference. Many beginner hikes don’t require them but as you tackle different terrain they may be a nice addition. Plus, your knees will thank you!
Recommended Hiking Poles

trail ergo cork Trekking Poles
Black Diamond: $170
These are my tried and true pair of hiking poles. They have ergonomic cork handles, which are good for moderating sweat, are grippier, and more comfortable. The price tag is steep but the quality is high.

Trailmade Trekking Poles
REI: $70
If you’re in the market for hiking poles and don’t give two hoots about fancy features, then these are your budget-friendly option. They get the job done, and they do it well.

trail ergo cork Trekking Poles
Black Diamond: $170
A little pricier, but hey, they fold down real nice-like. What sets them apart is being so compact and lightweight. Some may argue that they are less sturdy, but it really comes down to preference.
Whether or not you intend to use it, you should always have a headlamp in your daypack. You never know if you will get lost or lose track of time, and you don’t want to find yourself in the dark abyss of night without a headlamp. They are also essential if you decide to do sunrise or sunset hikes, which I highly recommend. If you’re getting anything out of this it’s that you want—and need—a headlamp.
This is a pretty straightforward purchase, it’s a light the sits on your head after all, but there are a few features that stand out. We’re talking tilt adjustment, brightness levels, beam distance, beam type, and charging source. For beginners, keep it simple and consider the main factors below.
Light modes
If you’re just getting an emergency headlamp that you’ll likely never use, various light modes aren’t essential. For backpacking and camping, however, being able to choose the brightness level is ideal. A red light setting is ideal as it doesn’t blind others and is easier on the eyeballs.
Lumens
This is the amount of light a headlamp gives off (not to be confused with “watts”).Headlamps come in 30-600 lumens, with the higher number being brightest. For hiking and camping, something in the 300 range is ideal—bright enough without being blinding. The amount of lumens are usually listed in the product name.
Beam Distance
Do you want to look way far away or just down at your hands? Standard is about 70 meters. 90 is great, 50 is meh. 150 is a bit much, but maybe you have a lot to look at out there?
Battery
You’ve got two options: rechargeable and battery-powered. This comes down to preference, though rechargeable tends to be favored since it uses a simple USB cord. Batteries are usually AAA.
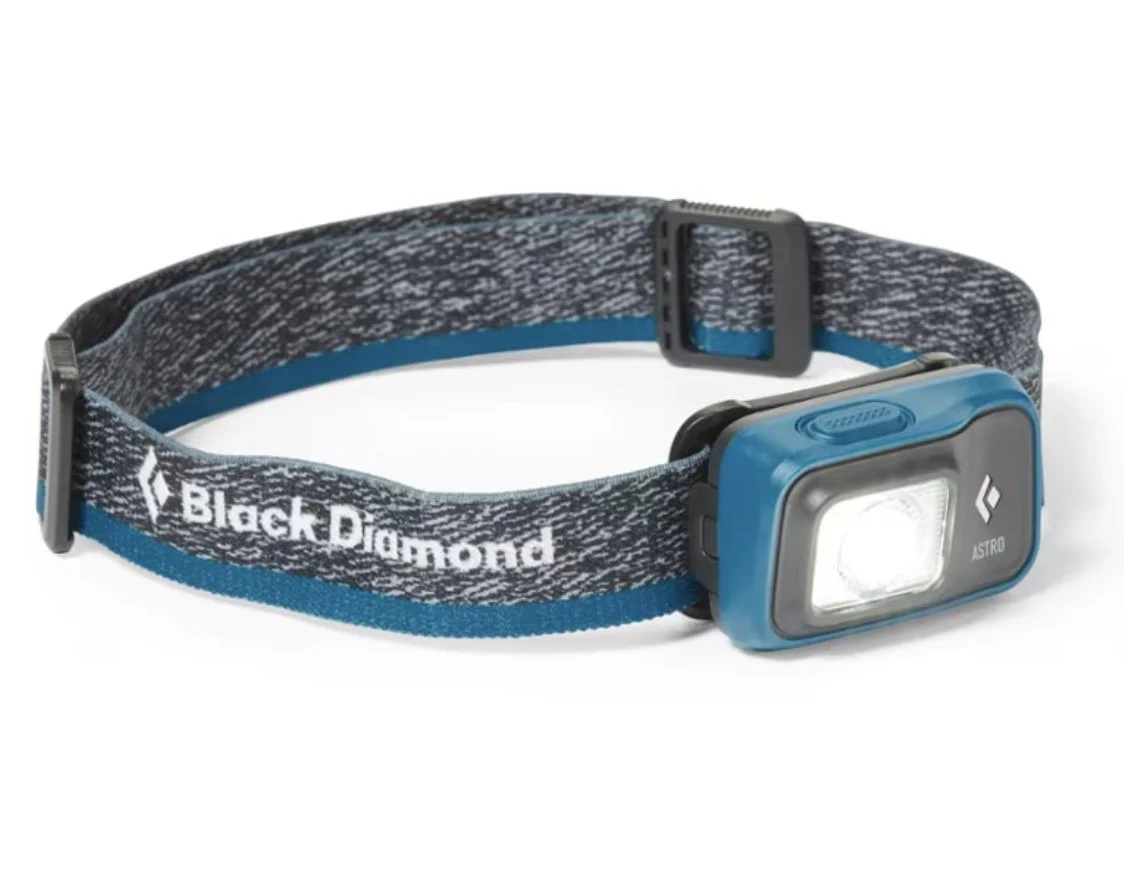
Astro 300
Black Diamond: $25
If you need a headlamp purely to be safe out in nature and say you have one, then there is the basic Astro. Turn on light, turn off light. Simply, easy, done. Its beam hits up to 55 meters with its 300 lumens and it’s battery-powered.

Tikka Headlamp
Petzl: $35
For a step-up from your basic headlamp, say hello to the Tikka. It has 3 settings up to 350 lumens, including red light, and it has a 70 meter beam distance. It is battery-powered.

Dash Headlamp 450
Biolite: $60
If you want to buy just one headlamp that will last you forever and keep you happy, this is what you want. It’s got all the features: multiple light settings up to 450 lumens (including red), it tilts, has USB charging, a long-lasting battery life, and beams up to 90 meters. Plus, it’s comfy. Gold stars all around.
Although I rarely use my first-aid kit, when I do need it I am mighty thankful it’s there. As a beginner hiker, you will likely (read: hopefully) only use bandaids for small cuts but you’ll need a few more items as well, just in case. Alcohol wipes are helpful (as is alcohol to drink, but I digress) and moleskin for blisters is great in a pinch.
I recommend buying a small pre-filled first-aid kit, though you can also make your own—just be sure it contains all the essentials. And don’t forget to bring sunscreen and bug repellent in summertime!
Recommended First-Aid Kits

Day Hike First Aid Kit
Hart Outdoor: $14
Lightweight (3.5 ounces), has all the essentials, and the loop is nice to hang it in an easy-to-grab spot.

UltraLight watertight Kit
Adventure Medical Kits: $34
Lightweight, waterproof, and has the medical basics—which is me just repeating the title of this product.

ScouT Survival Kit
Sol: $39
This is a slightly fancier kit (waterproof matches included) in a small, lightweight and dry bag.
This category is full of things you probably won’t use but really do need. Sure, you might be going on a popular trail but you’re still in the wilderness and you never know what can happen. Most experienced backcountry hikers have fancy satellite radios and navigation systems but as a beginner you only need a few key items that you can get for cheap.
Recommended Gear

Multi-Tool Knife
A simple pocket-knife, like a Swiss Army Knife will do. If you are feeling fancy, you can snag something with more features, like a Leatherman Skeletool, which I have and swear by.

Compass
Most beginners won’t be using a compass, but it’s a good piece of equipment to have. For starters, go for something cheap, like a Suunto Clipper.

Whistle
Many hiking backpacks come with a small whistle on the chest strap. If yours doesn’t, find a cheap one to add to your hiking arsenal, like this Fox 40 Classic Whistle.

Water
I like to hike with a 2-liter water reservoir. It allows me to lazily sip on-the-go rather than pull out my water bottle. In winter (when the reservoir tube can freeze) or when backpacking (when I filter water), I like to add a small, lightweight 16 oz. Nalgene bottle to the mix.
If you’re hiking with just a re-useable water bottle, go for a 32 oz Nalgene! I also like to add NUUN electrolyte tablets to my water, which adds a little something-something.
Snacks
High-protein, easy-to-eat snacks are ideal for hiking. Protein bars are my go-to, with Clif Builders, KIND bars, and Lenny & Larry’s Cookies being my favorites.
Other simple snacks include:
Trail mix
Nuts
Dried fruit
Fruit/veggie + peanut butter
For energy, I throw in 1-2 packs of GU Energy Gel and/or Clif Shot Bloks.
I try to pack light but there are a few things I throw into my bag for good measure. Among them are:
Small Doggy Bag
Not essential but it’s handy to have a little bag to hold your trash (and pick up any liter you see along the way!). I use small biodegradable dog poop bags.
Journal
I enjoy writing about my hikes and sometimes even drawing the scenery around me. Rite in the Rain is a great little notepad that doesn’t let water make ink bleed or run.
Z Seat
This might be my most unnecessary hiking item, but I love it nonetheless. The Z-Seat foam pad is a lovely thing for my toosh during a mid-hike lunch break and rest.
congrats, you now know what gear it takes to be well-equipped on hiking trails!
Want to be even more prepared? Read more tips from my Hiking 101 series.
Pin For Later:

You May Also Like: